Saturday, May 31, 2014

[Review] Betty Crocker Gluten Free Brownie & Cookie Mix

A food post! Yes!

Ok so if you don't already know, Mike and I have recently delved into the world of gluten-free foods. We did not become curious because one day we decided that it was better than foods with gluten, but one day Mike realized he was actually gluten-sensitive, and that his frequent indigestion and headaches actually resulted from his body's inability to process gluten well. So here we are trying to find gluten-free alternatives for a diet that was previously full of regular bread, cakes, and pasta.

I saw pictures of brookies (cookies in brownies or brownies in cookies).  I don't know where it originated, and it doesn't matter, really. I decided I just needed to try it. Out of all the ones I saw, I liked the version of the cookie encased in a brownie in the shape of a muffin. I only have time to do it quickly using boxed mixes (nothing wrong with the boxes!) so I headed to the grocery store to get ready for this epic adventure.

I went to Giant and saw the following products while I was looking around for brownie and cookie mixes. I got a regular Betty Crocker brand but was delighted to see that the brand carried a gluten-free version. I don't have nutrition labels for the regular box but they are basically not much different and one is not necessarily more nutritious than the other. Brownies and cookies are basically full of fatty yumminess, and there's nothing you can really change about it =p. And when you put them together into a brookie it's just double the fun :).

I should add that I got a brownie mix and a cookie mix that were about the same in packaging weight. Since you will be using less of the cookie batter, you can buy a smaller box of the cookie mix but they only sold the sizes shown below in my neighborhood Giant.

Packaging:


Nutrition Labels:


Prep:

I got ahead of myself and didn't have time to bring the camera down for each step. I just have photos of the finished products! I followed the instructions on both boxes. I lined my 12-cup muffin pan with cupcake liners, filled each liner with the brownie mix (make sure to use up all the brownie batter and distribute as evenly as possible in all 12 liners). For the cookie batter, I used a really small ice cream scoop and dolloped it in the middle. Although the bottom shows the finished product, the dollop I added looked similar as it only expanded a little while baking. You can add as little or as much cookie batter as you want in the middle. I eyeballed it, but if you need someplace to start, try a tablespoon of cookie batter for your first try. You can always add more. You will have leftover cookie batter. If you don't, you have put waaaay too much cookie batter into each brookie.

For baking, a lot of the brookie recipes I found out there instructed to check frequently, and that the brownie must not be overcooked. The cookie part will also look undercooked. For me the cookie part turned out just right (not undercooked), and I ended up checking every 5-10 minutes. To avoid that, follow the directions for baking regular brownies. Baked around 20-30 minutes in a regular oven around 350F, that should be your guide (check what your boxed mix says). I used a toaster oven so mine was done a bit differently. The brookies baked at around 20-25 min at 300F. I also had to rotate the pan halfway to make sure it baked evenly, since my toaster oven tended to brown one side but not the other. You know your oven best, but if you're not sure, just rotate 180 degrees at the halfway point.

Baked Brookies:


I just baked the leftover cookie batter per the box's instructions.


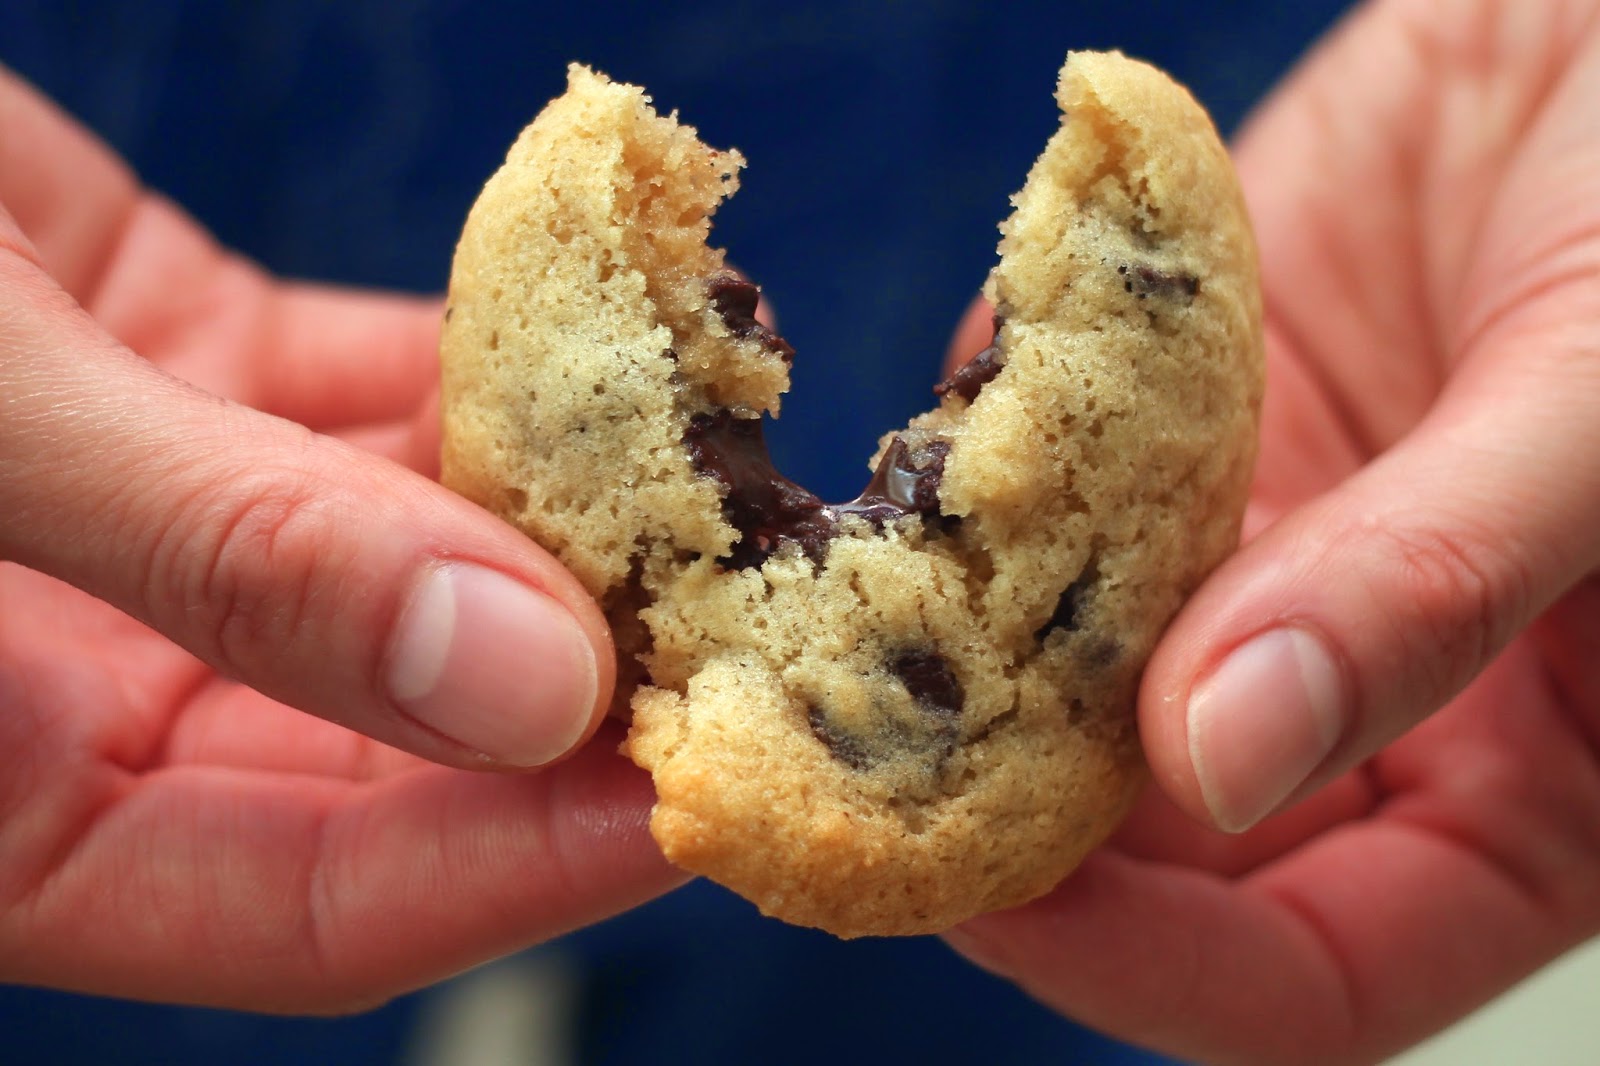
Verdict: Brookies and cookies tasted great. The cookies were really soft and fragile, and when I put them all in a ziploc bag the next day, they stuck next to each other and it might as well have been just dough. It might have been my fault, though. I may have undercooked it. But it tasted fine, and you would have never guessed that it was "gluten-free". The texture is different with the cookie, but with the brookie the brownie was definitely "normal-tasting". My first-time brookie definitely needs some work, and maybe I need to spread the cookie batter more across the top or just put more in. Either way, it still tastes as yummy :).

How about you guys? Has anyone made brookies, or have their own cool spins to them? Or have you tried these gluten-free mixes? Comment below!

[Nails] Jamberry: First Impressions

Today we will talk about nail wraps. For those who are not familiar, a short version is that they are doable alternatives to nail polish. You stick them on, and they either fail miserably and peel off in a couple of hours (with the claim that they last a couple of days), or they last you a couple of days (with the claim that they last a week). Some wraps are made of polish, and some are plastic. Some are just straight up stickers and suck really bad.

Jamberry is a company that works similarly to Mary Kay or Avon cosmetics. Purchases are completed via consultants (direct sales) and there are "Jamberry parties" where you get to try free samples before you can get a chance to buy the real stuff. From reading numerous reviews from the past couple of years, they seem to have gotten better with the formula of the wrap. Since I have never tried the older version, I can only assume that I would be trying a "new and improved" one. We can only go up from here, right?

I was invited to an online Facebook party and thought nothing of it until I got mailed my free sample. Before I put it on, I started to read up on it to see what the fuss was about and if it was similar to the Sally Hansen strips that I was disappointed with. Sally Hansen is a bit flimsy and had only a few designs; most of them I would not try unless I was feeling. adventurous.

I was wrong on two fronts. First, Jamberry is not made of nail polish. Secondly, they are not straight up stickers, either. They are made of vinyl with an adhesive backing that is activated and ultimately "cured" through a heat source. Jamberry sells a heater that you can use (which I will show in the future, because I won one in the Jamberry party I was in) but since a lot of people have a hair dryer, that is fine, too. Others have used a space heater. On to the free sample.

Sarah, my consultant, was very quick and gracious in sending me a sample via the Jamberry Facebook party. When I heard "free sample", I misunderstood and thought a free sheet of samples for all my nails. Haha...my mistake. The sample is only literally one strip, meant to be shared by 2 fingers, one finger on each hand.

This is what the sample looked like:


I almost missed it because I was looking for it to be on its own backing, and not stuck to the business card, but it looks very nice and neat like that. There were 10 sample patterns to choose from, and my sister and I decided this one looked different from the rest. The pattern is called, "Pickled Paisley". Pattern is pretty true from what you see from the website (once the consultant links you to their personal ordering one). Did I mention they had 300+ designs? Yeah it's like a nail polish line. They have a lot. Solid, patterned, hybrid, shiny, crazy, etc. They even have a Penn State design. I'm sold.

I kind of regret that I didn't take any pictures or videos of how I used this first sample. I only have final pictures of it on my nail. It says to use it as an accent nail, but since I am not polishing my nails at the moment, I was just going to do a wear test on my pinky. So then this is just about how it wore. I will do a more detailed how-to when I get my first set of strips in the mail (yes, I ordered!).

I do not have pictures, but once you figure out which nail it belongs to (I used my pinky), I cut it in half first. That way I can save the other part for my other hand. I did my non-dominant hand first as that is how I usually polish. This is not polish, but old habits die hard. The instructions say to peel the strip off of the plastic backing, and to hold it (I used tweezers so my fat hands wouldn't get on the adhesive) in front of a heat source (I used a hair dryer) for about 3-5 seconds. I did 15 to make sure. Then I plopped it on my nail. It was crooked, so I repositioned it. Bare in mind I didn't apply a lot of pressure yet so that I wouldn't mess with the adhesive. The second time was better so after that I pressed it on the nail (press, press, press on all sides like your life depends on it!) and it looked fine. Then the instructions tell you to put it in front of the heat source again and file off the excess in a downward (perpendicular to nail) motion (do side-to-side filing and you're screwed; it'll peel off). To top it off I kept pressing on it until I was tired. Here's a macro shot of how it looks from the left and right side of my nail.

Day 1 (right side of nail):


Day 1 (left side of nail):


The free sample just happened to be a little small. As you can see, there is some bare nail at the sides. Not a big problem. It wasn't too ridiculously small and I'm able to do a wear test on it anyway. But what it does mean is that if your nail fans out, you may need to pick a bigger size and cut it out to fit it better to your nail. Many people have done so and have gotten good results. 

Day 1 ("afar shot"):


Again, most people will not even be looking that close, so I think I did a decent job. 

*******

ONE WEEK LATER...

These Jamberry wraps held up pretty well despite my clumsy application. I washed dishes, took showers, bathed babies, and wasn't being necessarily careful to my nails to give it a "true" wear test. They actually do not look worn out from far away, but if you are a crazy psycho like I am and stare at it, there are, of course, wear and tear. Below you see the slight "puckering" at the edges from the same left finger as above.

Day 7 (right side of nail):


Day 7 (Slight tip wear):


However, on my right hand, I must have done something to create some more tip wear:


And some "wavy" puckering at the edge (driving me nuts!!):


Again, most of these cannot be seen by others. I'm just being really picky here. Here is what it looks like from "afar":


The other patterns on my middle and ring finger were from a free sample sheet I won from playing the games on the Jamberry Facebook party, so I got more samples to do a wear test on! Again, I regretfully do not have any kind of video how-to because I wasn't really thinking (was too excited and put them on immediately!) but I did put these on more carefully so I expect them to stay longer unless I go crazy with my hands.

The edges look like you could peel them off. If you are a chronic polish-peeler when it becomes the slightest bit ruined, then if you do see it, you'll peel it. I see the edges starting to lose their adhesive strength, but even if you stare at it, you wouldn't think it's easy to peel. Actually, removal instructions for these are very specific. If you straight up peel it, you'll mess up your nails. I haven't peeled these off but when I do I'll show you what it looks like and how to do it safely without ruining your nails. 

Wear Test Comparison:


So there are my first impressions! I give them good marks because they have lasted longer than my normal polish. And as you can see, it wasn't a disaster after day 7! I'm getting my order in the mail in the next week, and when I do, I'll do a full-blown tutorial so you see it. Until then...

<3, p2nd2b32r

What Will I Be Doing Here

At the urging of my husband and sister, I will resurrect blogging as a way to help document my experiences, and expect absolutely nothing from it except that people who read it will know me better or know way too much about me.

At first I wanted to blog what I dreamt, but I disabled that blog because I simply stopped remembering my dreams. Somehow when I had kids I just didn't have the capacity of getting to the point of remembering most of the dreams I had. When I did, they were definitely very fun, like a wow-I-could-write-a-book type fun, but then daily occurrences decrease those dreams to a faint memory, and finally, to something that almost didn't happen at all. So, yes, in short, I disabled my 'dream' blog.

Then I thought, hey, maybe I could try to be intelligent and write about what I thought about current events. Turns out my opinions are not really supported by any kind of research nor can be substantiated by anything because I, truly, am not really active in following the news. Not the type that would demand coherent arguments or a definitive "stance" in such events. I basically just visit CNN and see what's on there -- mostly to see what kind of trolls have hit the internet and to also inform myself of what is going on in the world. Then when I'm done with the troll-trolling, I go on something better like Fox News or what have you. So, yes, in short, I disabled the 'thoughts' blog.

So WHAT is mommyscape?? Gee I don't really know. The title was born out of an art piece I was really proud of in middle school (elementary? high? don't remember). It was a little globe held by both hands at the bottom, and the globe had fish and "sea stuff" in it. I titled it "seascape". And that became my favorite. So I added "scape" at the end of my blog, and since I'm a mommy...well...why not?

I digress. There will a few categories in my resurrected blog. Should I update it frequently, it'll be about: 1) my kids, 2) (very) amateur photography, 3) nail products (wait...what? I know, get over it.), and 4) other random things I try to review.

READY, SET, GO !!